
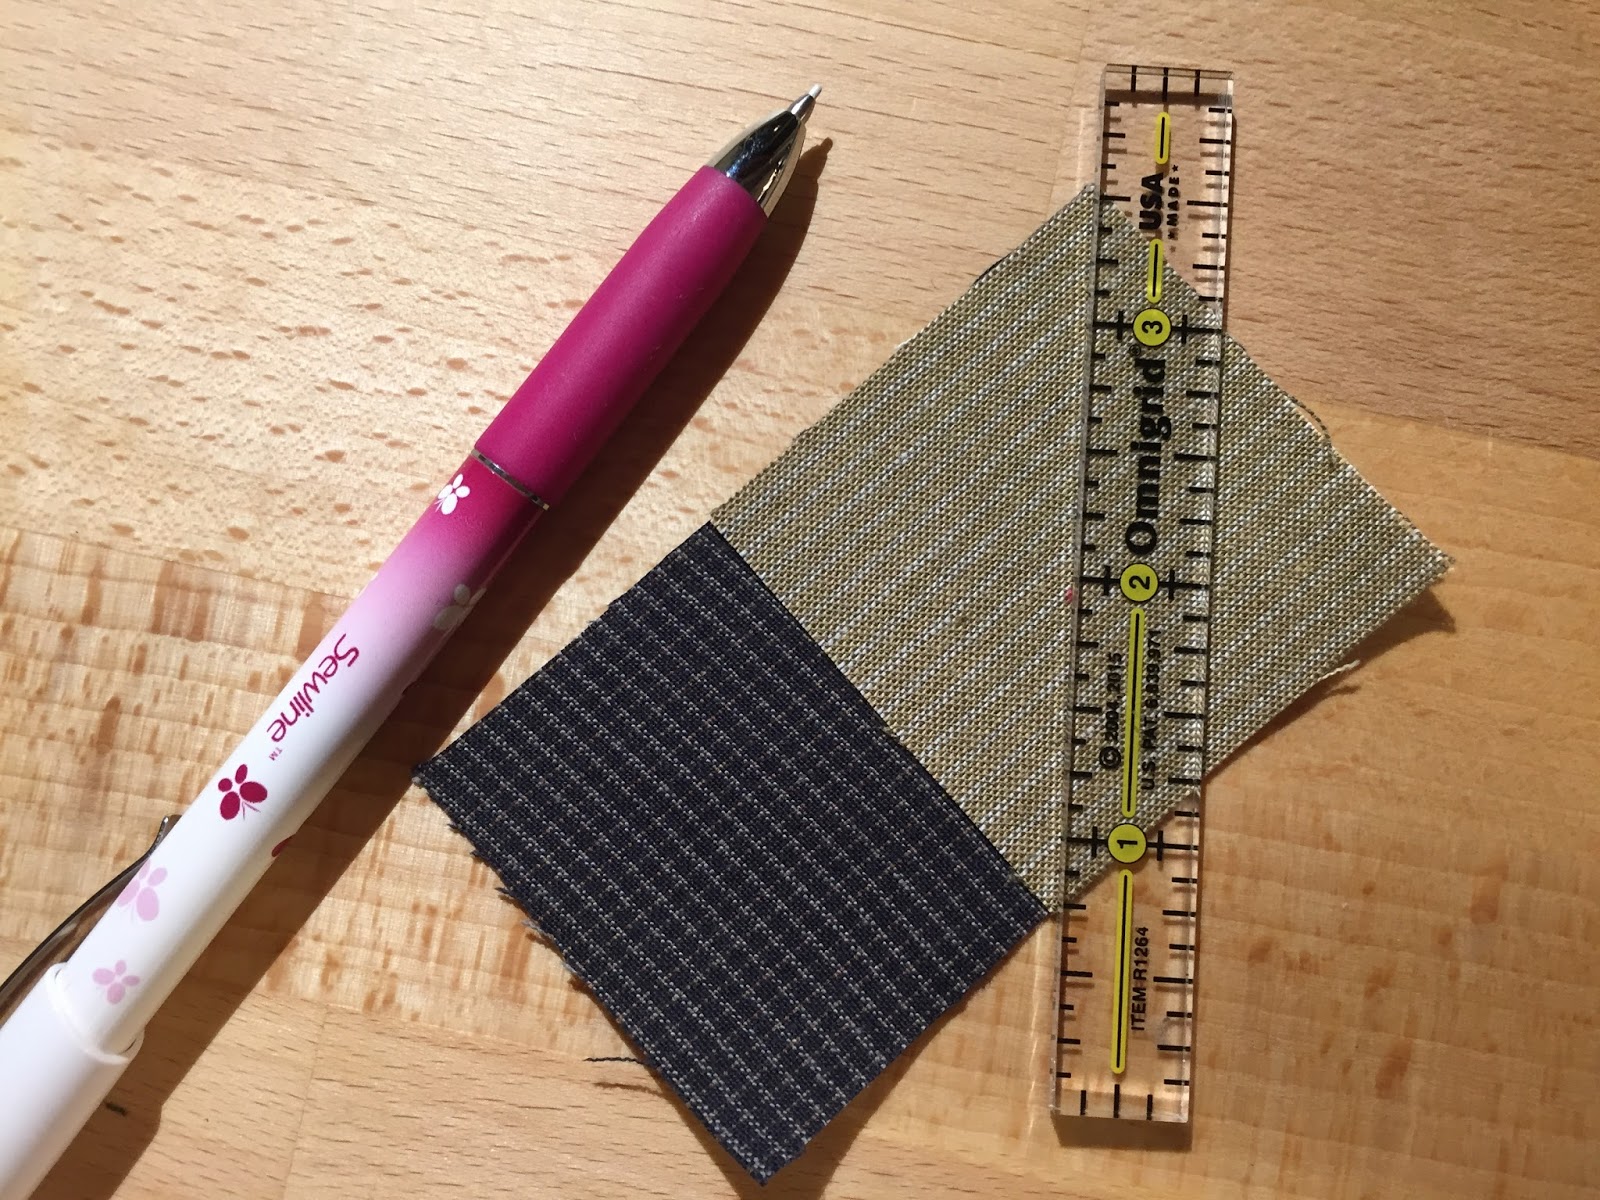
I have selected these 6 fabrics at left, with the top three used for the larger, outer star, and the bottom 3 used for the smaller, inner star.


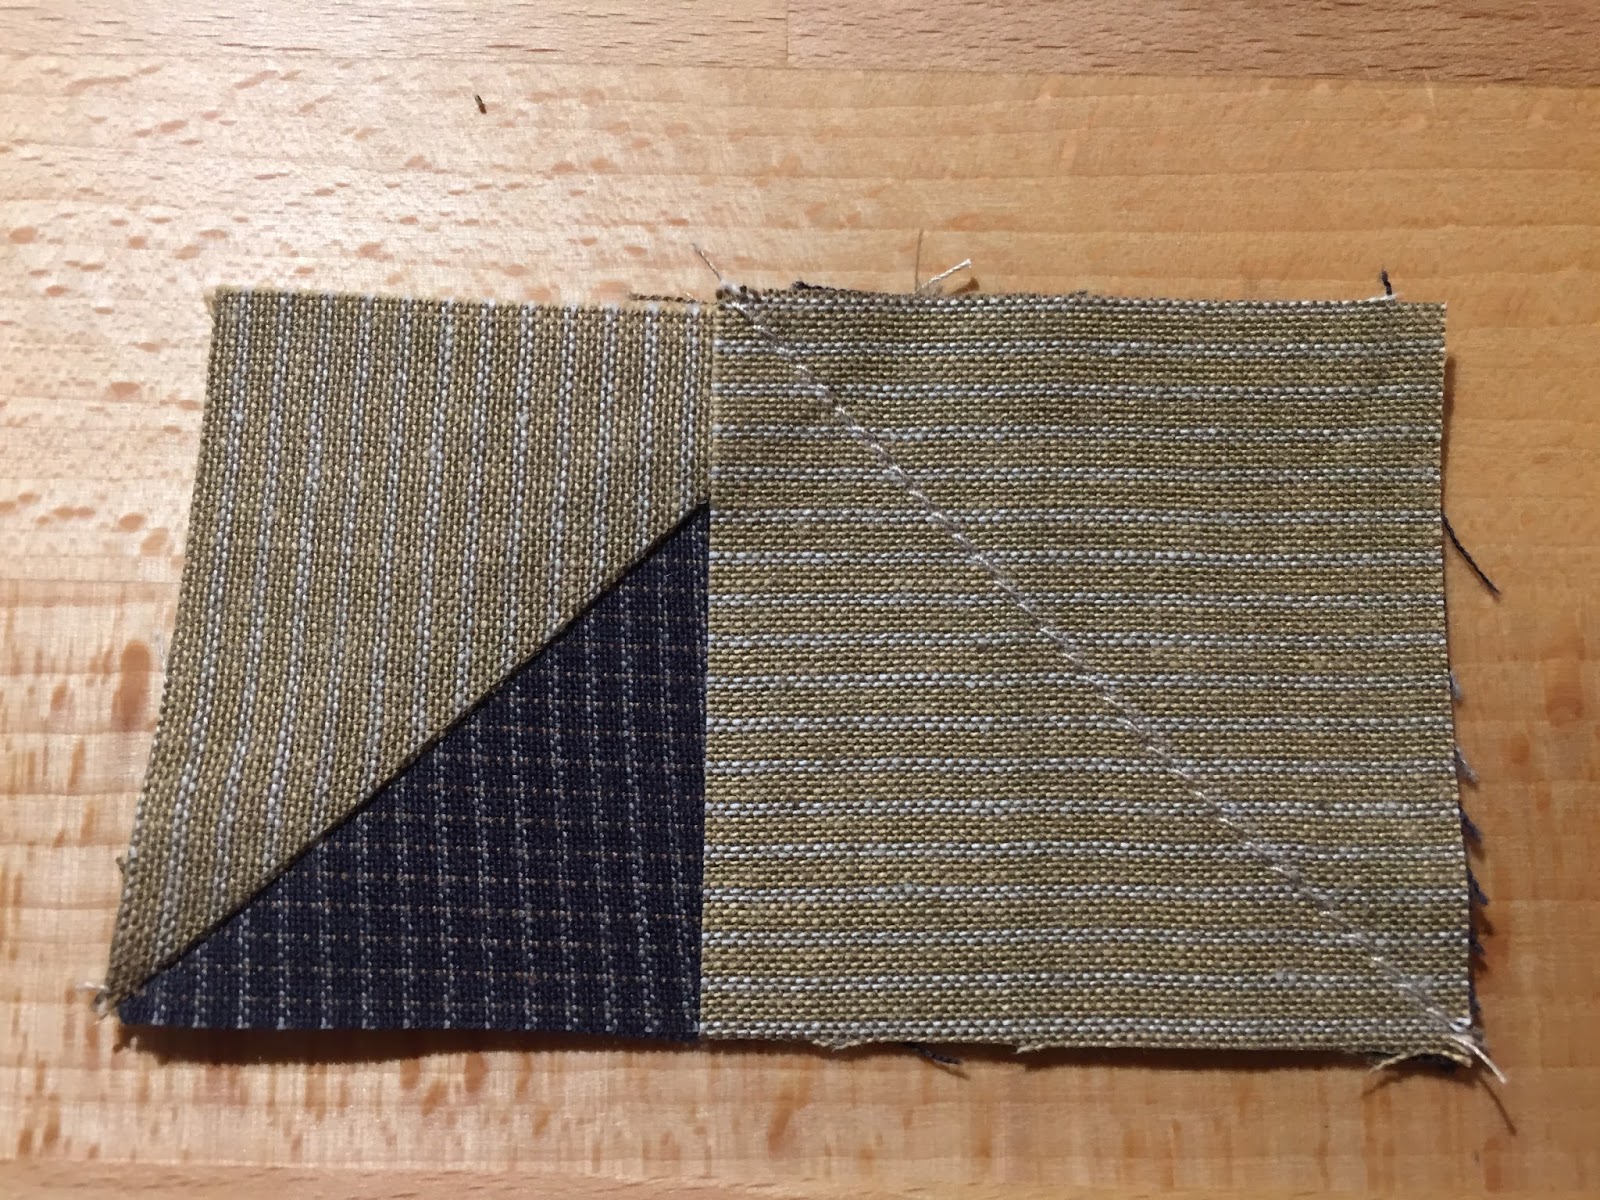
Be sure when you are cutting your pieces, to cut the triangles for A, B, and D as half square triangles, and the triangles for C as quarter square triangles (as pictured in the center above). This will assure that the outside edges of your block will all be straight of grain.
 Note that my medium dark fabric for the background of the inner star (charcoal gray) is just a bit lighter than the pure black fabric (dark), and I have also chosen two lights for the center star. One goes in the center (space d) and the other is used for the star points (space c). Although the two lights are very similar in value, they have a nice variation in texture.
Assembling the pieces is pretty straightforward according to the printed pattern. Sewing pieces A and B together to form the outer corner squares of the block, and sewing D's to triangle C making flying geese units that are used as the outer star points.


Be sure to trim down your half square triangles. Line up the diagonal reference line on your ruler with the diagonal seam, and trim to 3 1/2" square. Also, trim your dog ears off your flying geese units. It will make your final seams less bulky, and the finished block will lay flatter.


The flying geese units for the inner star points are made using a slightly different method. Start with a rectangle and a square. Lay the square over one side of the rectangle aligning the edges. draw a line on the diagonal of the square, and sew on that line. Trim excess fabric beyond 1/4" from the seam. Flip and press the corner. Repeat this with a second square on the other end of the rectangle, sewing the diagonal in the opposite direction.


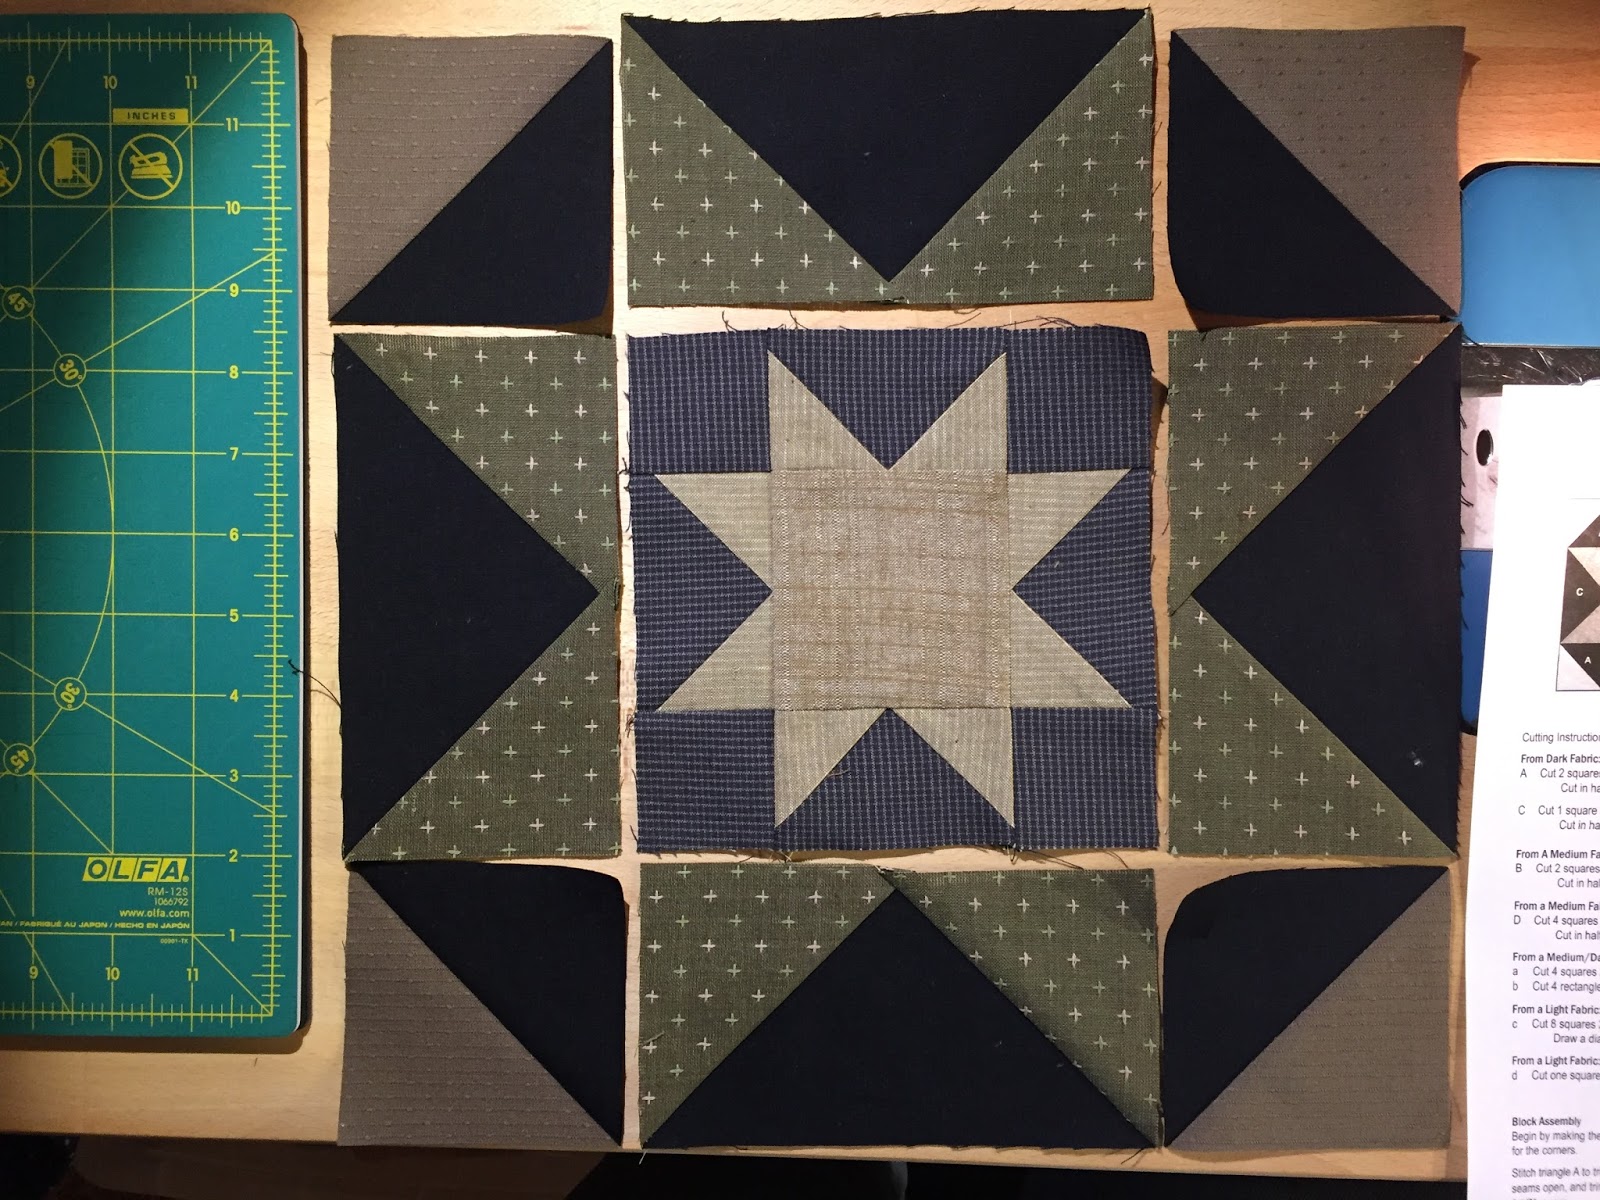 The resulting star block will be used at the center in the larger star. Assemble the large star just as the small one, using the small star as the center, 4 flying geese units, and the 4 half square triangle units as the block corners. Be sure to arrange the HST corner blocks with the light and dark in the correct location.
Put this star together just as before, in rows, pressing the seams in the same direction we did for the small star. You will likely find the final two row seams on the block will want to be pressed open to help your block lay flat.


Your block should measure 12 1/2" square and will finish in the quilt at 12". If you should have any questions, or would like to leave feedback about this block, or the Twilight Gardens quilt, use the comments section below.
Thanks for following along.